
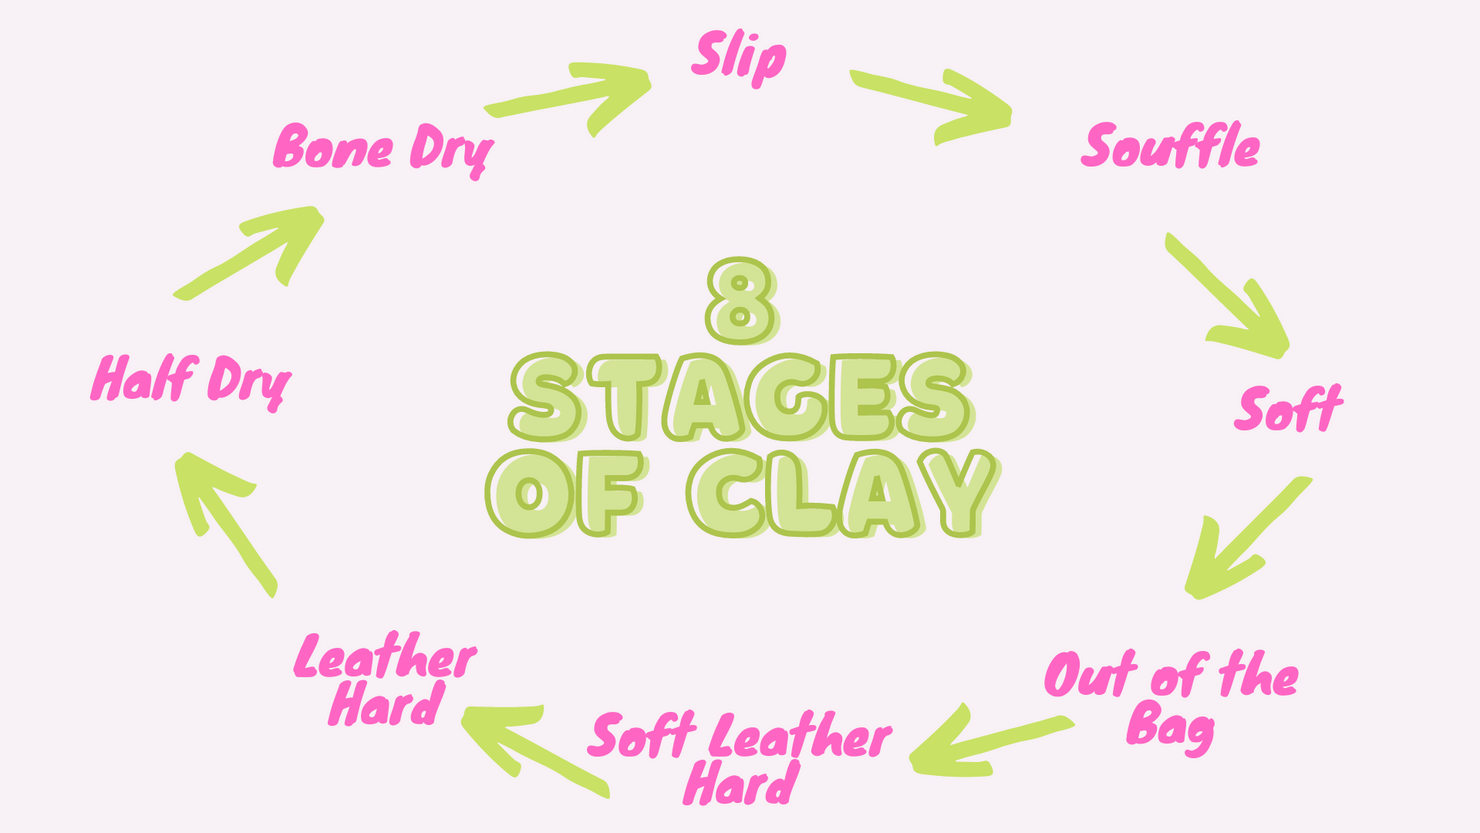
This is the 8 stages of clay before it even goes near the kiln. These stages are based on water content and this in turn affects the consistency of the material. Each stage has own it’s uses and techniques available. Clay is so varied in what you can make, and this is hugely due to the many stages of clay.

Slip
This is the stage when the clay has it’s highest water content. At this stage you can prepare it to pour into moulds to slip cast your pottery. I also use slip to attach handles to mugs as a clay glue and any other attachments. Whisking (I use a paint mixer and drill) the slip clay can stop the heavier sediment from sitting at the bottom.
Soufflé clay
I’ve added this extra stage to the traditional stages of clay. This stage has less water than the last and as the name suggests, imagine a sloppy kind of consistency like clotted cream (can you tell i’m from Devon?). I pipe clay at this stage and it just about holds it’s shape and texture instead of pooling like slip would. This is also the stage I would begin recycling clay by whipping it up into a smooth consistency and place on plaster batts to dry out for recycling..
Soft clay
Again this is the next stage of drying. The clay is too soft to throw at this point but it can be used to make hand-built coiled pottery. Also I like using this clay to smooth out the seam of handles to create a seamless attachment. You can also begin wedging recycled clay from the stage previous now on a plaster batt ready for the next stage.
Out of the bag soft/Plastic
You can finally throw with this clay! Weigh it out and ball it up to begin throwing. You can also roughly model sculptures with this clay but don’t expect to get much sculpted detail. You’ll have to wait for the next stage or use a heat gun to dry it out quicker.
Soft Leather hard
This stage is great for carving clay and creating textured surfaces. Now is also the time you want to trim a foot on the bottom of your thrown pottery and stamp your logo. Soft Leather hard is when you create lips on the rims of pots and attach handles using slip. It’s all about that score and slip technique with handles!
Leather hard
This is the last stage that you can do anything to change the form of your pottery. You can still add handles and also cut holes for things like plant pots. You can also use a needle tool to sign your name on the bottom now instead of a stamp. And you may want to also burnish your piece now, a kind of polishing technique; with the back of a spoon or a smooth pebble to polish and kind of seal the surface of your clay. This is also when my stoneware clay is at it’s darkest in colour; and it is also cold to the feel because of the water present.
Half dry
Nearly dry but I can tell it is not quite because the clay is still cold to the touch. You should look out for handle seams having cracks at this point as you will want to decide which ones go in for recycling before they all go in the bisque. You should allow to completely dry out before bisque firing (to save your kiln elements).
Bone dry
Room temperature to the touch because there is no water content making it cold. Now is the most delicate stage of the clay. Which is unfortunate because so much effort has gone into it by now! I commonly use two different decorating techniques on this stage; the first is water etching to create a raised image on the surface of the clay and second is I often paint underglaze on at this stage which will develop in the bisque firing. You can now place bone dry work in the kiln for bisque firing. Bone dry is also the best stage to soak unused clay to recycle, the clay quickly breaks apart and disintegrates in the water. This then goes onto to become slip clay and so the cycle begins again!
Comment and let me know what you think!
Many thanks for reading!
By Christina Goodall
Visit my Website – www.christinagoodallceramics.com
Visit my Facebook – www.facebook.com/christinagoodallceramics
Follow me on Instagram – www.instagram.com/christinagoodallceramics
Browse my Porcelain Jewellery for sale – www.etsy.com/uk/shop/MargoMargoJewellery